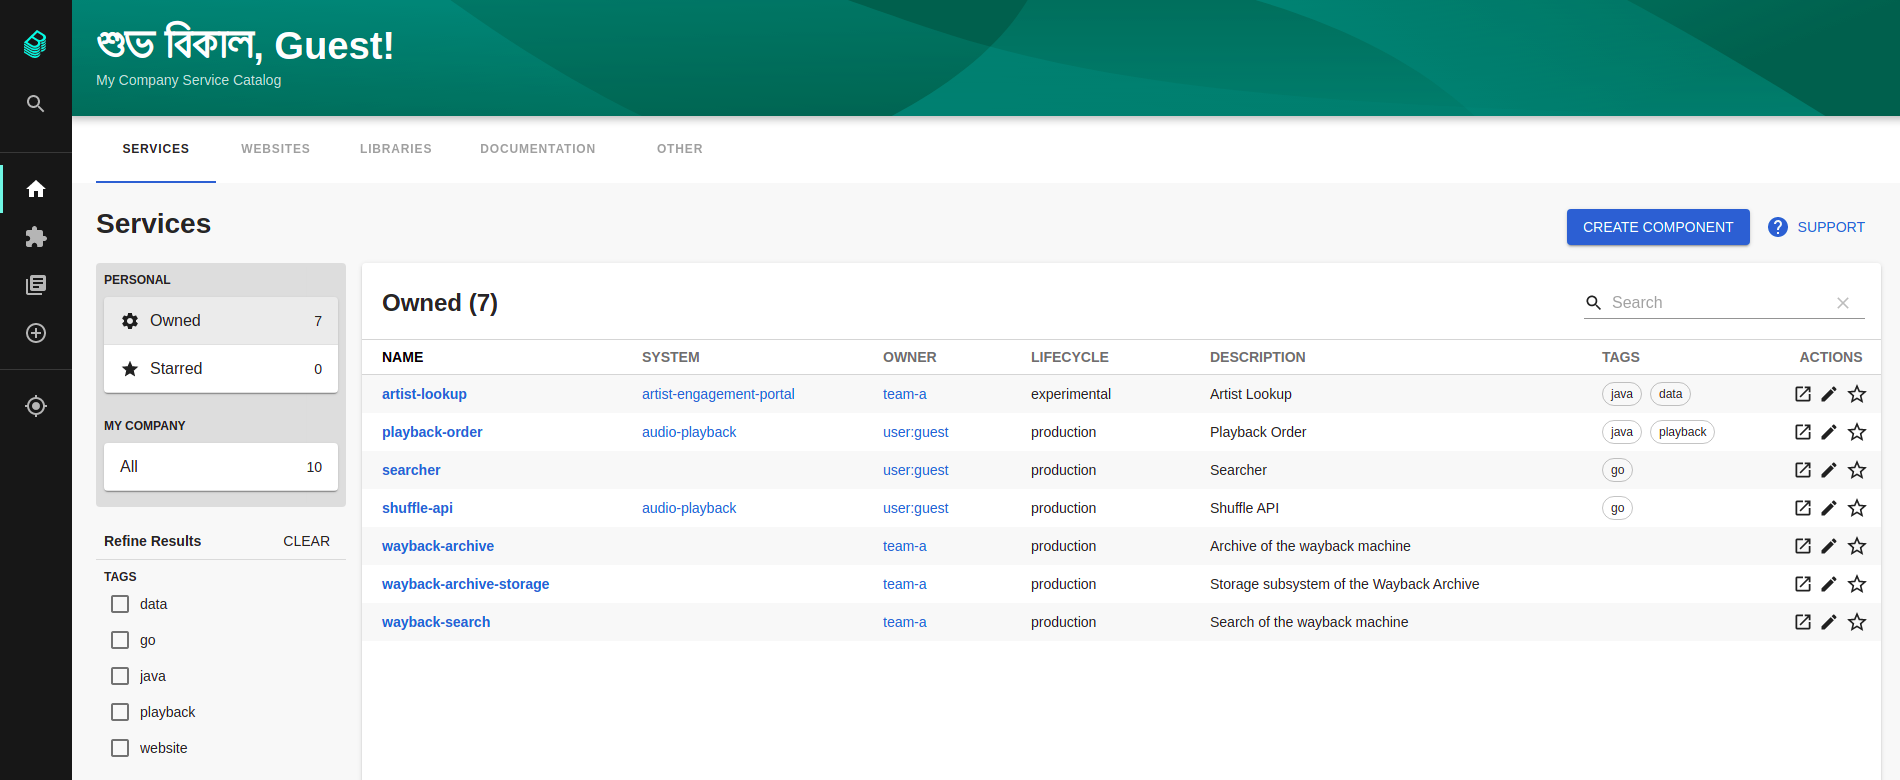
We have multiple teams that have to, somehow, work together to achieve goals. Obviously, we have documentation, API specifications, monitoring systems, alerting systems, dashboards, CI/CD systems, logging systems, infrastructure, and so on. We keep jumping from system to system to find and correlate information. We need to find that API specification. We need to find those dashboards to check why our services are misbehaving. We need to check the build system to figure out why the build failed. New hires spend countless hours just getting to grips with everything. Our software ecosystem keeps growing and becoming more fragmented and complex. How awesome would it be if we had a way to provide a consistent experience that would tie all these tools, resources, standards, together in one place?
Born out of Spotify, Backstage “is an open platform for building developer portals”. Their idea was to build a platform that would unify all your infrastructure tooling, services, and documentation creating a streamlined development environment from end to end. “Armed” with Backstage they can maintain standards and best practices across the organization, have a standardized way to build software, provide a central place to manage all projects and documentation, enable scalability and extensibility by allowing integration with new tools (via plugins) and much more.
After several interactions with the community at large as well as with some partners they decided to open source it and now we can benefit from it and contribute back to the community.
Get the ball rolling
We’ll be dipping our toes into Backstage and we have two ways to quickly do that: create a standalone app or clone the Backstage repository. Each has its purposes and we’ll be creating a standalone app since we want to get Backstage up-and-running quickly and play with it.
Requirements
Create a Backstage app
~ npx @backstage/create-app
The @backstage/create-app package will be used to scaffold a standalone instance of Backstage. Go through a wizard to create your app (tip: select SQLite for now).
Run Backstage
~ cd your-backstage-app
~ yarn dev
yarn will run both the frontend as well as the backend and it should launch a browser window displaying the app at http://localhost:3000.

And that’s about it! Easy wasn’t it? In a future post, we will be exploring several Backstage functionalities but for now, we can just play around a bit and get used to Backstage. Stay tuned!